Wednesday, December 19, 2012

Chocolate M&M Pretzel Bites

I enjoy the taste of sweet and salty not to mention the taste of chocolate.  One candy that is beyond easy to make and even better to eat around the Holidays are these Chocolate M&M Pretzel Bites.  I promise that you cannot eat just one!


Ingredients:
  • One bag of regular size pretzels
  • One (or two-depending on how many you want to make) bag of Hershey Kisses Milk or Dark Chocolate
  • Plain M&M's
Directions:
Turn your oven on to 200 degrees.  Line a cookie tray with wax paper and then make several rows of pretzels.  Next, add a Hershey Kiss to to the top of each pretzel.  Put in the oven for 2-6 minutes, allowing the chocolate to become soft enough that you can press the kiss all the way down on the pretzel.  Add an M&M to the top of each one.  Let cool and store in the refrigerator.

 
The first thing to do is turn your oven on 200 degrees. 
I line a cookie tray with wax paper and then make several
rows of pretzels.

Next, add a Hershey's Kiss onto the top of each one.
It can be the milk or dark chocolate kind.
Now, put them in the oven for 2-6 minutes, allowing the chocolate
to become soft enough that you can press the kiss all the way
down.


Once you take them out of the oven, add an M&M
to the top of each one and let cool.  Store in the refrigerator.

Tuesday, December 18, 2012

O is for Orange

I really love oranges.  As an FFA member in high school, our primary fundraiser was selling fruit.  Each year in November we would take orders for a December delivery.  There was nothing better than sinking your teeth into one of those fresh Florida oranges. 

Recently, I purchased a case of navel oranges from our local Shenandoah FFA Chapter and they have been delicious.  Of course there were about 80 in the box and there are only three of us to eat all of those.  Needless to say, we have had oranges for breakfast and dinner for the past two weeks.

 
Eating all of the oranges got me thinking about their value nutrionally and agriculturally.  According to the University of Florida IFAS Extension, citrus fruits are one of the largest commodities of Flodida agriculture.  Oranges mean so much to Florida that they selected it as the official state fruit in 2005. They made the orange blossom their state flower, and orange juice their state beverage. I'd say they have a serious love of oranges in Florida and they should because oranges are a major part of their economy.  In 2006, 67% of all the citrus grown in the United States came from Florida.

Oranges come in several varieties: Naval, Hamlin, Pineapple or Valencia.

The USDA recommends that you wash the orange under cool water and pat it dry before peeling and eating it.  It is also suggested that you keep them in the refrigerator.  We usually keep ours on the back porch where it's just cold enough that they won't turn.  The great thing about oranges is that they make an excellent (but sometimes messy and sticky) snack.  Oranges have only 60 calories and have no saturated or trans fat in them.They are a huge source of Vitamin C which every human needs for the repair and growth of tissue in the body, healing wounds and in some cases have even helped lower blood sugar.

So how about adding an orange to your weekly food menu?

Happy peeling:)


Thursday, December 13, 2012

French's Green Bean Casserole

If you are just starting out and are a young wife learning different things to make, I would highly reccommend adding this simple recipe to your cookbook.

French's Green Bean Casserole tends to be a staple around most homes during the holidays.  It is a traditional casserole that requires few ingredients and doesn't take long to make.  Serve it with some meat and a salad and you have a complete meal!

French's Green Bean Casserole
source: http://www.frenchs.com/recipes/


Ingredients:

1 (10 3/4 oz.) can CAMPBELL'S® Cream of Mushroom Soup
3/4 cup milk
1/8 tsp.black pepper
2 (14.5 oz. each) cans cut green beans 
1 1/3 cupsFRENCH'S® Original or Cheddar French Fried Onions

Directions:

MIX soup, milk and pepper in a 1 1/2 -qt. baking dish. Stir in beans and 2/3 cup French Fried Onions.
BAKE at 350°F for 30 min. or until hot.
STIR. Top with remaining 2/3 cup onions. Bake 5 min. until onions are golden.


First thing I try to do is set out the ingredients.

In a mixing bowl, mix the soup, milk and pepper.

Stir in beans and 2/3 of the French Fried Onions.
We like a lot of the onions, so I usually add extra.

Pour the mixture in a 1.5 quart casserole dish.
I usually add the French Fried Onions to the top when I bake it rather than waiting.
Just be careful not to let them burn.
Bake at 350 degrees for 30 minutes.

And there you have it!

 
Variations:
You can substitute the French Style Green Beans instead of the regular beans. 
Try adding some ham in the mixture as well.
Sprinkle with your favorite cheese.


Tuesday, December 11, 2012

Mink!

As you know, I raise chickens.  Chickens can be prey for many different types of wildlife.  Over the last three weeks, I have found a dead chicken in one of my chicken coops almost every other day.  Not to gross you out, but their heads would be biten off and their bodies left in the coop.  Long story short - I was aggrevated and disgusted.  Action must be taken on whatever was killing my girls.

For two weeks, I was on patrol of the coop.  I would sneak down once it became dark (which right now is by 5:30 P.M.) with my pistol in hand and my two labs walking next to me.  We would search all over the coop to see if we could find the predator.  The coop would smell a little like a skunk, but I knew in my research that skunks don't usually kill chickens.  Although the dogs and I found lots of night time wildlife, I couldn't find the one killing my chickens.


Last Wednesday night, while feeding, my dog Libby started barking and scratching at a small opening in the side of the coop.  After a little further inspection and prying one of the boards loose, I could see two eyes staring at me.  We had FINALLY found this creature that was killing the chickens.  I went to get my pistol while Libby kept the creature in place.  When I came back, the creature had turned itsself around, but I had a clear shot, BOOM.  There was the first shot.  I saw it move again toward another small opening, so I shot it a second time.  Yes!  I had killed...what?  What was that thing?

Our friend Joey heard me hollaring with glee and came over to see what was going on.  He pulled the creature out and I thought it was a weasel, but it was actually a mink.  Long, slender, and dark in color it was finally dead.

I'm no Annie Oakley, but wildlife beware - Don't mess with the chickens!

Friday, November 30, 2012

Mom Mc's Oyster Dressing


Oyster Dressing


On our first Thanksgiving together, I learned that Bill liked Oyster Dressing.  At that point, I had never even tried an oyster, and well, had no desire to.  My mother-in-law, however, made Bill Oyster Dressing for both Thanksgiving and Christmas and one of our family members has an "Oyster Fry" each year.  Needless to say, I don't mind fried oysters, but don't you dare feed them to me raw.

With all of that being said, I learned to make Oyster Dressing for my husband, from his mom.  Although, I am calling this recipe "Oyster Dressing" I want you all to know that I make the entire recipe without the oysters first, so I can have my own batch, and then add the oysters to the rest of the dressing mix for Bill.

Here is the recipe:

Oyster Dressing

Ingredients:
1 loaf of white bread
1 pint of oysters
Parsley, fresh or dried, to taste
1 t poultry seasoning
salt and pepper to taste
Turkey and/or chicken broth
1 onion, diced
2 eggs
1/4 t sage
1 T butter

Directions:
READ ALL DIRECTIONS BELOW FIRST BEFORE ADDING ANYTHING TO THE BREAD.

Add ingredients as follows: bread, eggs, onions, parsley, poultry seasoning, sage, salt/pepper, oysters and broth.


Break up the loaf of white bread the night before.  Cook turkey for broth the night before or use canned chicken broth. 


Clean oysters by dumping them in a strainer and running cold water over them.
I usually cut mine in half. 


Dice onion and fry them in butter (about 1 Tablespoon of butter) to soften. 


Dice fresh parsley or use dry parsley to your liking.


Break eggs into mixture one at a time, working them all in.


Next, add the poultry seasoning.


Then add the sage.


Add enough of the broth that you get a good moist consistency.
At least 2 cup fulls, more if needed.


Once everything is mixed, pour into two greased pie plates and bake at 350 degrees until your desired done-ness.


Tuesday, November 27, 2012

Judy's Oreo Pie


My wonderful co-worker Judy has a dish called Oreo Pie, that all of us want her to make on our birthday's.  This dish is made the night before and I promise there will not be any left regardless of where you take it.

Oreo Pie

Ingredients:
3 1/2 c milk
1 lg box instant vanilla pudding
1 (12-oz) container of Cool Whip
1/4 c melted butter
1 (8-oz) package softened cream cheese
3 T powdered sugar
1 package of Oreos, crushed

Directions:
For base, crush Oreo's, reserving about 1 dozen for the topping, and combine with 1/4 c melted butter and press in bottom of a 9x13 dish. Combine the remaining ingredients (a mixer or Kitchen Aid is perfect for this task) and pour the mixture on the Oreo base. Top with remaining crushed Oreos. Place in refrigerator and serve the next day.


Step 1: Crush about Oreo's and place
in the bottom of a casserole dish.

 
Melt 1/4 cup butter and pour over the crushed
Oreo's to make the base.

 
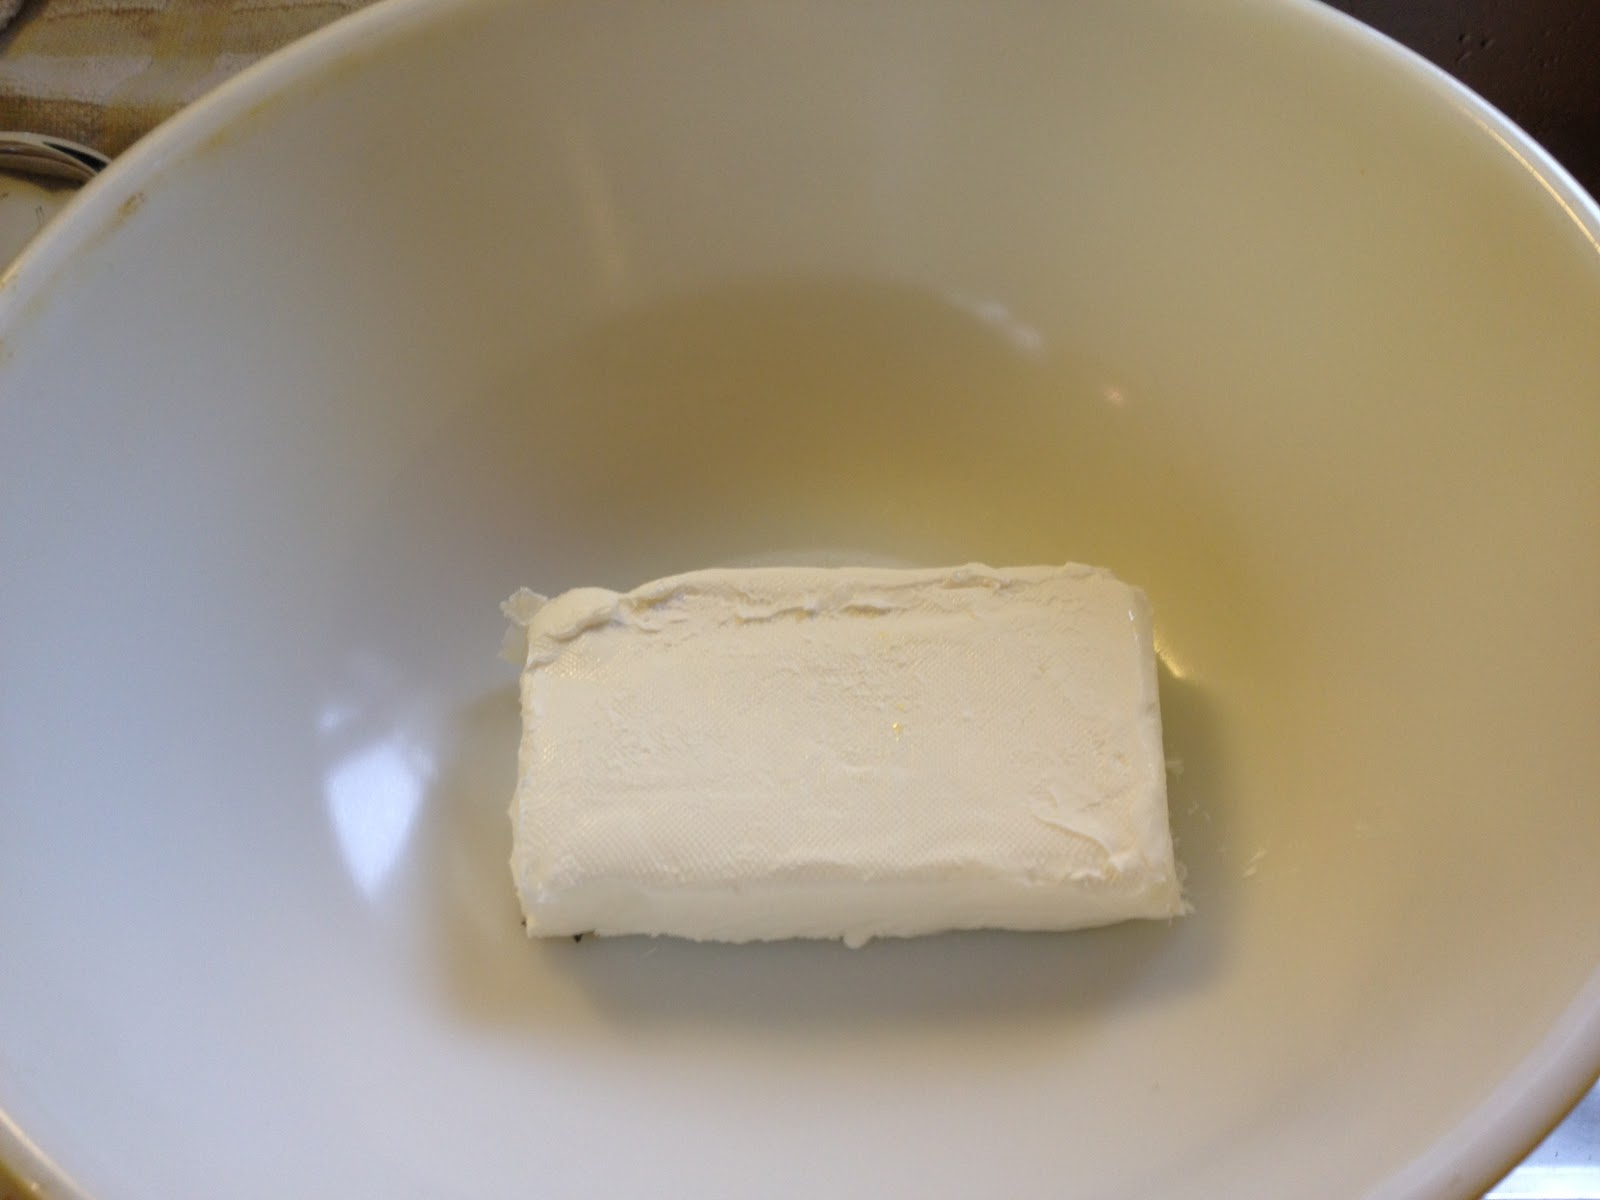
Let the cream cheese come to room mixture
so it is easy to mic.
 
 
You will need one large box of instant
Jell-O vanialla pudding.
(Sometimes I use sugar free)
 
 
If you have a Kitchen Aid, utilize it for the mixing.
I actually find that I like using my mixer.
I usually mix the cream cheese with about 1/4 cup
milk to get started, then add the pudding mix, powdered
sugar and the rest of the milk (a little at a time). 
 

Next, add the whip cream.
I usually you light.  Again, use your mixer
or Kitchen Aid to really blend the ingredients
 to make a good creamy base.


Pour the base on top of the crushed
Oreo base.
 
 
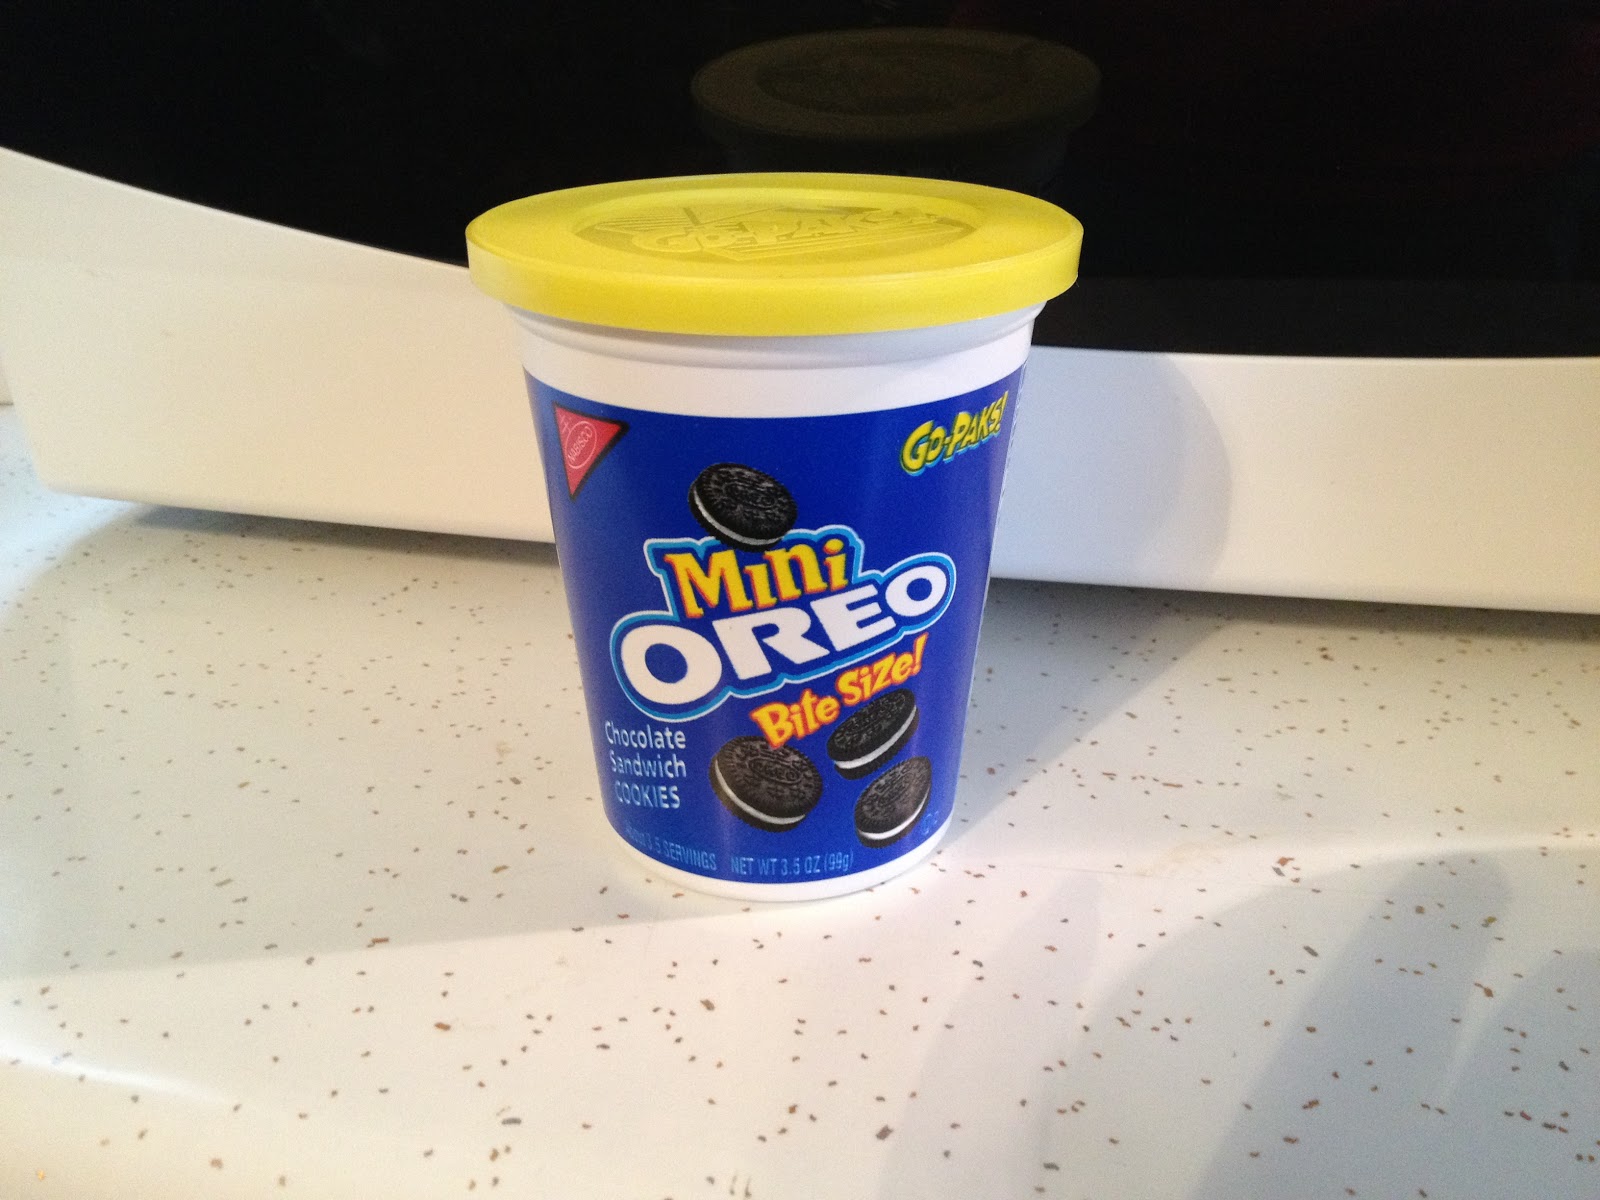
You don't need these, but I like having extra
Oreo's on mine, so I added the bite size pieces.
 
 
Add the crushed Oreo's to the top.
 
 
Put in fridge and chill overnight.

Tuesday, November 20, 2012

Home-made Blueberry Muffins


Home-made Blueberry Muffins

Ingredients:
1/4 c butter
3/4 c sugar
1 egg
1/4 c sour cream
1 1/2 cups flour
2 t baking powder
1 t salt
1/2 c milk
1 c fresh (or frozen) blueberries

Directions:
In a small bowl, cream the butter and sugar together.  Add the egg and sour cream, mixing well.  Combine the flour, baking powder,  and salt.  Add these ingredients to the creamed mixture.  Pour the milk in a little at a time stirring as you go.  Fold in the blueberries.

Fill 12 paper lined muffin cups about 2/3 full.  Bake at 400 degrees for 20-25 minutes or until done.  Cool for 5-10 minutes before removing from pan.


***You can also add 1 cup (chopped) fresh or frozen rhubarb to this recipe in addition to the blueberries.

Tuesday, November 13, 2012

Not Grandma's Goulash


Super Cheesy Goulash

My Grandma Mae loves goulash and makes it quite frequently in the winter months.  I learned to make the recipe from her.  Being the experimental person that I am, I began looking at different recipes and ways to spice up the main ingredients.

Here is what I came up with:

GOULASH
(enough for 5-6 people)

Ingredients:
1pound of ground beef
1 can of tomato soup, undiluted
1 small can of mushrooms stem & pieces, undrained
Velveeta to cover the top (I used the slices of Velveeta)
1/4 to 1/2 cup of diced onion (depending on your preference)
1-1/2 cups of macaroni noodles, cooked and drained
salt/pepper to taste

Directions:
Brown the ground beef and onion in a skillet.  Drain grease and place in a medium bowl.  Add the rest of the ingredients and mix thoroughly.  Use salt and pepper to taste.  Transfer contents to a casserole dish and cover the top with cheese. Cover with aluminum foil and cook at 375 degrees for 45 minutes or until heated thoroughly.

Friday, November 9, 2012

Broccoli Cheese Soup

Broccoli Cheese Soup
 
 
Soup seems to be good for the soul and satisfying to the tummy, especially in cold weather.  This past week, I tried my hand at Broccoli Cheese Soup.  It's a recipe I've made before, but just a little different as I took it from an older cookbook.  Give it a try and see what you think!
 
Ingredients:
4 chicken bouillon cubes
1 c diced onion
2-1/2 c diced raw potatoes
2 cans cream of chicken soup
1 quart of water
20 oz of frozen broccoli and cheese
 
***Note if you don't have broccoli and cheese together, you can use 20 oz of broccoli and then 1 pound of cubed Velveeta cheese.
 
 
Directions:
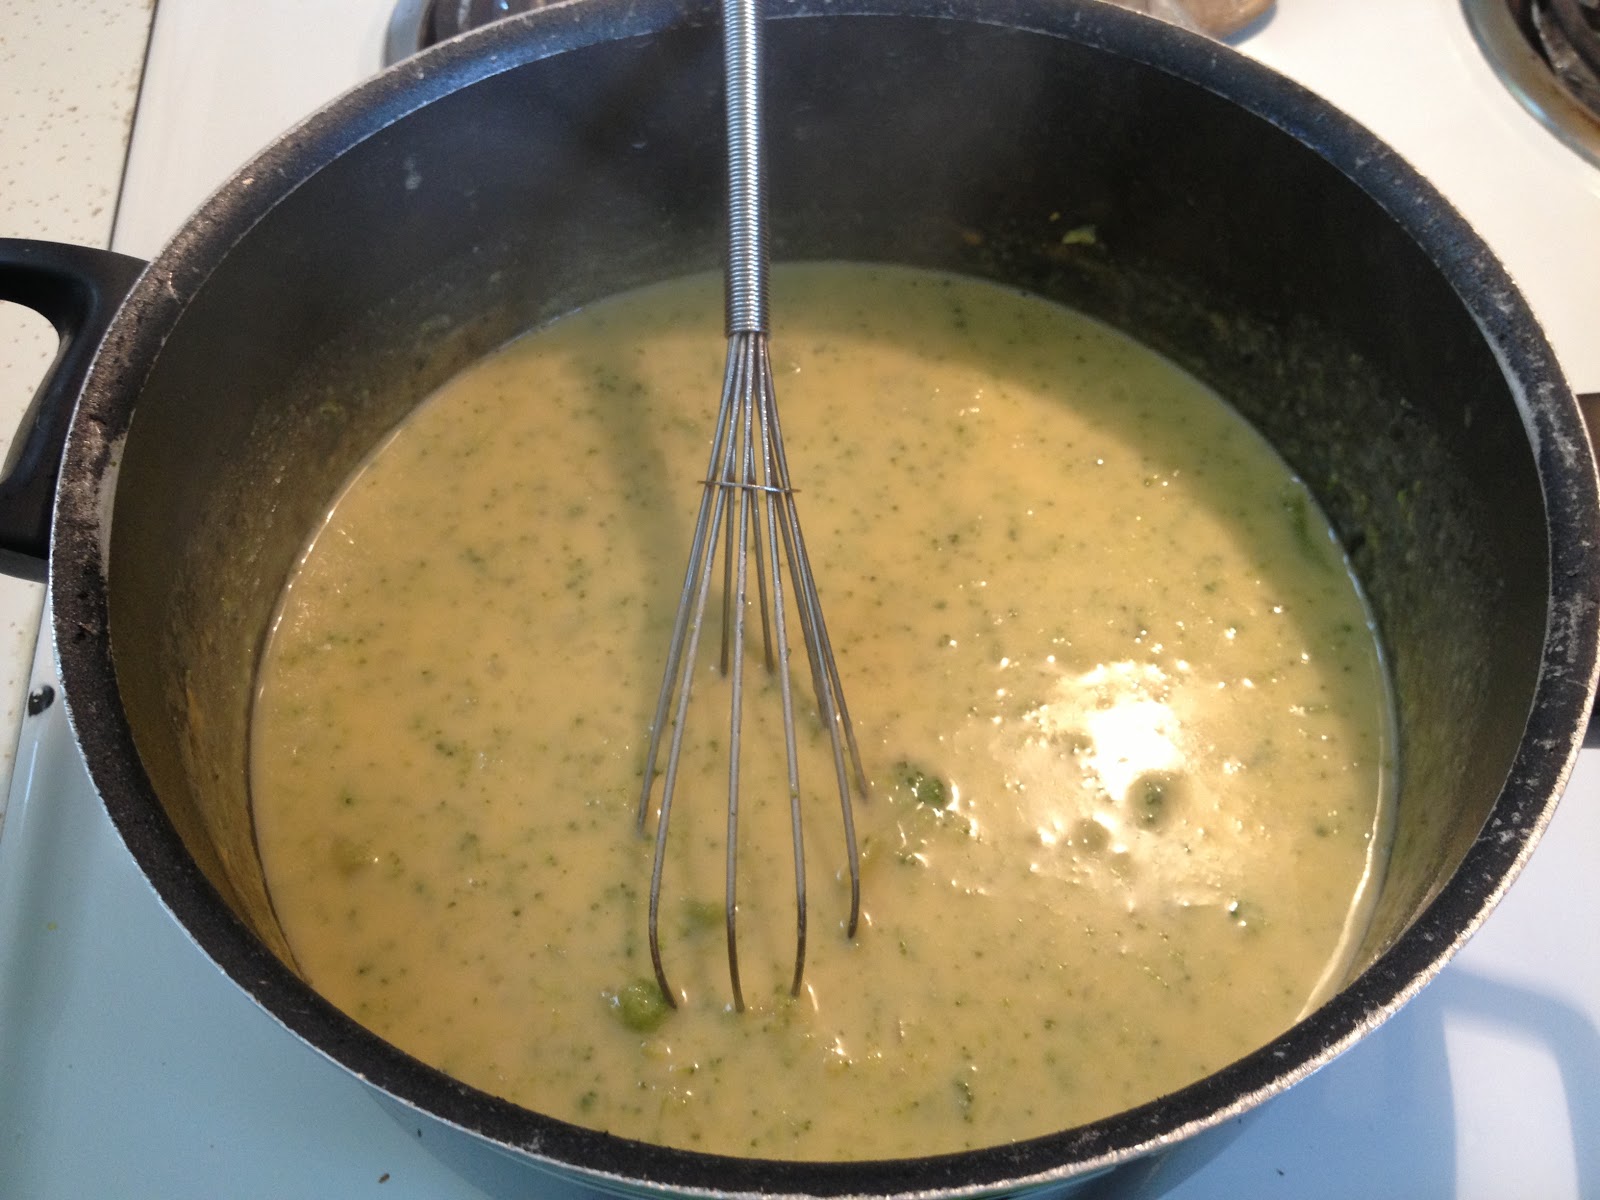
Combine bouillon cubes, onion and water.  Cook for 20 minutes.  Add potatoes and frozen broccoli and cheese and cook for an additional 30 minutes.  Add soup and stir to blend.  I took a masher and  mashed the broccoli and potatoes until it was no longer lumpy.  Heat to taste.


Thursday, November 8, 2012

Barn Quilts

Barn quilt in Fleming County, KY

I love to visit my parents in Kentucky and to look at all the beautiful barn quilts on barns.  I keep thinking that I will put one on our barn, but which one?  I love them all!  Then I started wandering why these beautiful pieces of art were put on barns.  After some research, I found a great answer...

According to Marilyn Carrigan, Executive Director of the Truman Museum, "The history of the barn quilt begins about 300 years ago with the arrival of immigrants from the Rhine region of Germany. They came for religious freedom. These groups included Amish, Mennonites, Lutherans and other Reform groups.  Many settled in Pennsylvania, especially in Berks, Lancaster and Lehigh counties.

Today, octagonal and hexagonal star-like patterns are seen on the Pennsylvania Dutch (Deutche) barns.  Prior to the 1830s, most barns were unpainted because of the cost of paint. As paint became more affordable, the Pennsylvania Dutch began to paint and decorate their barns."

Not only are the barn quilts popular in Pennsylvania, but in several other states as well.  I have a treasured quilt at home that my great aunt made for me when I was just a little girl.  The quilt is a symbol of family, heritage, comfort and craftsmanship.  I suppose taking that image and putting it on a barn that symbolizes tradition, labor, ethics and agriculture go hand in hand.  If nothing else, it makes for a striking display and looks much better than the tin stars. 

If you are interested in purchasing a barn quilt, check out this website: http://www.americanbarnquilts.com/


Source:
http://fairmontsentinel.com/page/content.detail/id/506370.html


Wednesday, November 7, 2012

Corn Casserole


Do you ever have a certain item that you just love to make?  At my house, it would have to be "Corn Casserole."  It is a wonderful side dish to make for holidays or gatherings.  It is not hard to make and feeds several people.  It also freezes easily and it wonderful as a leftover.  I guess that you could say it's flawless as far as food goes!

Ingredients:
1 can whole kernel corn, undrained
1 can cream style corn
1 box of Jiffy Corn Muffin mix
1 8-oz container of sour cream
1/4 to 1/2 cup of sugar (depends on how sweet you like it)
salt and pepper to sprinkle on top
1 stick of butter

***Try adding the following to change the dish up a little: bacon, cheddar cheese, green chilies or a green/regular onion. 
Directions:
Melt butter in a microwave safe bowl.  Add other ingredients, mixing well.  Sprinkle top of mixture lightly with salt and pepper and bake in a greased 9x13 casserole dish uncovered at 350 degrees for 45 minutes, or until golden brown on top.

Here are some of the ingredients that you will be using.
This is what it should look like when it comes out of the oven.

Thursday, November 1, 2012

Lasagna Roll Ups


Love me some pasta!

This week instead of making old fashion lasagna, I decided to try "Lasagna Roll Ups" instead.  We were not disappointed!  This dish with some garlic bread was delicious!  To save time, I prepared the recipe the night before and then stuck it in the oven when I came home from work the next day. 

Ingredients:
2 jars of 28 oz spaghetti sauce (I like a lot of sauce and one jar just didn't cut it with me)
1 pound container of Ricotta cheese
2 bags of 8 oz Mozzarella cheese
1/2 cup grated Parmesan cheese
2 eggs
1 teaspoon of salt
1 Tablespoon of parsley
8 lasagna noodles

***Other options: adding hamburger, onions, spinach, etc!  If you add hamburger, I would cook 10 noodles total instead of 8.


Directions:
First, cook the noodles according to the directions on the package, drain and cool. 
Next, preheat oven to 375 degrees.  Pour one jar of spaghetti sauce in a casserole dish.  In a medium sized bowl, mix the Ricotta cheese, one bag of Mozzarella cheese, Parmesan cheese, eggs, salt and parsley together.  Spoon the mixture over a single lasagna noodle, distributing evenly.  Roll the noodle up tightly and place it in the pan, seam side down.  If you have extra cheese mixture, you can add it between the rolls ups in the pan.  Pour the other can of spaghetti sauce over the noodles and sprinkle with remaining cheese.  Cover the dish with aluminum foil and bake for 45 minutes (or until heated through) and then bake uncovered for an additional 5-10 minutes until cheese is melted.  Let cool for 15 minutes and serve with garlic bread and a small salad.


Wednesday, October 31, 2012

Cookies in the Freezer

As a farmer's wife, you never know when company will be stopping by or when the guys might want a snack out in the field.  I try not to give the guys candy bars, but rather cookies that they can keep in a Ziploc bag with them in whatever piece of machinery they are driving.

This week, I made almost 12 dozen cookies and put them in the freezer in quart size bags.  Then all I  have to do is pull them out when needed, let them thaw (usually 30 minutes to an hour) and use them as needed.

The great thing about homemade cookies is that they will usually stay fresh for up to 90 days in the freezer if they're stored in a Ziploc freezer bag and then put in an airtight container.

Always be sure to label the items you put in the freezer with what the item is and the date you are freezing it.


Wednesday, October 24, 2012

They Call Me Libby!

Libby watching Bill out in the garage.

Many of you know that I can't have children, so my pets instantly become my kids.  Sadie, my black lab mix is almost 8 years old and I wanted to get her a friend that she could run around the farm and play with.

After looking for several weeks, a friend of mine approached me about possibly taking her 4 year old lab/terrier mix Libby.  Libby came to our house this past weekend and has been a ball of energy ever since.  Sadie is still a little unsure about her new younger sister, but they seem to be getting along well.  When Libby does something bad, like chase the chickens, Sadie just sits back and looks at her like "I told you not to do that." 

Sadie and Libby like to take rides in the gator - Sadie in the back and Libby in the front.  Bill has already bought treats for both dogs to enjoy when they are good.  After an exhausting first day on the farm, Libby crawled up in the back seat of Bill's truck and went to sleep.  He told me she was even snoring!  I think she is enjoying farm life already.


Libby on the left and Sadie on the right hanging out on the front porch.

Tuesday, October 23, 2012

Bacon, Egg and Cheese Bagel

One of my all time favorite breakfast sandwiches is the Bacon, Egg and Cheese Bagel from McDonald's.  I don't get it very often because of the price.  So, I decided to take a stab at it and make my own at home.  Although the taste isn't exactly like McDonald's I think it's better because I made it in my own kitchen with fresh ingredients. 

If you're like me, I'd rather sleep than eat in the morning, so this is a perfect way to make sure that I don't skip breakfast.  I can make my coffee, grab one of these out of the freezer and heat it up when I get to work.  Give them a try!


First thing I did was purchase a bag of plain bagels, a package of bacon and American cheese.  I have eggs of course:)


I put the bacon in the oven on 400 degrees to cook for 20-30 minutes.  While the bacon was cooking, I sliced all of the bagels in half and toasted them.  Laying them out on a piece of wax paper when they were done.


I added a slice of American cheese to one side of each bagel.  If you prefer more cheese, add a slice to the other side as well.


Then I fried up my eggs.  It is very difficult for me to break the yolk on the eggs as I grew up learning to make eggs over easy, but for this one project, I fried hard eggs.


Once all of the eggs were fried and cooled, I added them on top of the cheese.


When the bacon was done cooking, I patted each peace with a paper towel to get rid of any excess grease.


I then cut each piece of bacon in half and added maybe a little more on top of each egg - hey, it's bacon! 


Then I assembled each bacon, egg and cheese bagel, wrapped each one individually in aluminum foil and put them all into a gallon Ziploc bag. The guys in the field loved them.

If you want to add a sauce to them, I would suggest going ahead and adding a sauce of 2 teaspoons of mayonnaise and 1 teaspoon of mustard mixed well to each bagel! 


Here's a cool tip:
Instead of throwing out your empty eggshells, RECYCLE them!  Let your eggshells dry out, then use your blender to finely crush them to make a type of bone meal for your plants!