Tuesday, April 30, 2013

Breakfast Sausage Casserole


Living on the farm and having fresh eggs readily available is such a blessing.  We recently had a cow butchered and one of my friends had a hog butchered, so we made a trade...10 pounds of hamburger for 10 pounds of sausage. 

Since I had fresh sausage and eggs, I decided to make a casserole that we recently had at church for our Easter breakfast.  It's simple to make and will last for several days.  I like to put mine in small containers to take to work and eat there in the mornings.

Here's the recipe:

Ingredients:
1 lb sausage
10 eggs, beaten
2 and 1/4 c milk
1 and 1/2 t dry mustard
1/2 t salt
1/2 t pepper
1 and 1/2 cup of shredded cheddar cheese
(save the 1/2 cup of cheese until 5 minutes before the casserole is done)
6 slices bread - torn up
1/4 t Tabasco sauce

 
Directions:
Brown sausage and drain. In a mixing bowl, beat the eggs until they are thick and frothy. Add all of the ingredients to the egg mixture except the sausage and the 1/2 cup of cheese.  Pour the egg mixture into a greased 9x13 pan. Drop the sausage on top of the mixture evenly until the casserole is covered on top with the sausage.  Refrigerate overnight. Bake at 350 for 40-45 minutes.  Take the casserole out 5 minutes before it's done and add the remaining 1/2 cup of cheese.  Cook for an additional 5 minutes. 


Wednesday, April 24, 2013

Breakfast Egg Cups

When I was in high school, I would rather sleep in then eat breakfast.  Although I haven't changed much on the sleep part, I have found that I do need to eat breakfast every morning because I just need that extra boost (besides the one my coffee gives me).

Living on a farm and raising chickens, we naturally have a lot of eggs.  I've seen recipes for what's called "Bird's Nest" and this recipe is very similar.  You can adapt it as much as you want.


Breakfast Egg Cups

Ingredients:
Hash Browns, 24 oz bag, thawed
1/2 cup Shredded Cheese + extra
Eggs
Bacon, cooked and crumbled
2 Tablespoons of Olive Oil
2 t salt
2 t pepper
1/2 cup of diced onions

Directions:
Preheat oven to 425 degrees/
In a mixing bowl, combine the hash browns, olive oil, cheese, onion, salt and pepper (if you don't like onion, try red and green pepper).  Stir until well mixed.  In a muffin pan, grease each spot, or use muffin liners and grease them, and divide your hash brown mixture evenly among the muffin spots (a 12 count muffin pan works perfect).  Bake the hash browns in the oven for 20 minutes.  Take the hash brown mixture out of the oven and turn the oven down to 325 degrees.  Crack an egg in each muffin spot over the hash browns.  I like over easy eggs and my husband likes hard eggs.  Therefore, I punctured the yolk in half of them and left the other half with the yolk in tact.  Sprinkle crumbled bacon and cheese over the eggs.  Cook for another 15-20 minutes, or until the eggs are cooked through and the cheese has melted. 

I ate mine with some hot sauce and loved them.  For a family on the go, this would be a quick fix the night before for breakfast in the morning.


Friday, April 19, 2013

Start Seedlings Now

I enjoy summer, but I don't enjoy the humidity.  One thing that I am looking forward to is my garden.  I don't grow more than we need, but I grow enough to eat on during the summer and to can for the winter.

Even though the weather still isn't as cooperative as we like, it's a great time to start seedlings in doors.  I like to buy the little kits that has 48 or so peat pellets in it and start my seeds.

 Here are some of the seeds that have started
and are ready to transplant to a larger container.

 Keep those 2 liter bottles and milk jugs!
Clean them and cut them and half and they make
excellent containers for starting plants.  I roll up
a couple of balls of aluminum foil and put in the
bottoms of each one to help with watering and
drainage.  Plus it gives the roots a chance to breathe.

 I use every available window that has good sunlight
and put the plants there.  I also label each container
with what is growing inside of it.
On the far left, I have Boston Pickling Cucumbers,
in the middle I have Mini Sweet Peppers, and on
the right, I have Heirloom Cucumbers.

Here is a close up of a container of Mini
Sweet Peppers.  I usually plant 2 plants
per container.


Here, I have cut milk jugs in half and put the
aluminium foil balls in the bottom and planted
2 containers of Roma Tomatoes and more peppers
and cucumbers.
 
 
When the weather turns nice for good, I'll start introducing these plants to the outdoors and sunshine for a few hours each day, gradually increasing the hours until they are ready to be outside permanently and ready to be put in the garden. 
 
By starting your plants indoors from seeds, you're able to save a huge amount of money.  A packet of seeds costs between $1 and $2 and a single plant can cost between $2 and $5.  What are you waiting for?  Give it a try!

Thursday, April 11, 2013

Slow Cooker BBQ Chicken

Things have been a bit hectic lately.  We had our 7 and 9 year old niece and nephew for a week during their Spring Break last week, and I didn't get much done.  We had fun though.  We went to the Indianapolis Children's Museum (I highly recommend going if you've never been), Chuck E Cheese, a cowboy store and so much more!

This week I am back on track.  I have vegetables started and they are coming along wonderfully and I just ordered a pasta attachment for my Kitchen Aid!

My husband, who does not like chicken, had three piecesof this recipe last night.


Slow Cooker BBQ Chicken

Ingredients:
4-5 Boneless, skinless chicken breasts (mine were partially thawed because I put them in the fridge the night before, but you could use frozen as well.  Be sure to cook the chicken longer if you use frozen).
1 bottle of BBQ sauce
1/4 cup brown sugar
1/4 cup white vinegar
1/2 tsp garlic powder
1 tsp red pepper flakes

Directions:
Insert your slow cooker liner into the slow cooker.  Place the chicken in the slow cooker.  In a medium bowl, mix the BBQ sauce, brown sugar, vinegar, garlic powder and red pepper flakes.  Mix well and pour over the chicken.  Turn on low and bake for 4 hours.


Tuesday, March 26, 2013

Slow Cooker Vegetable Soup

In 2012 last year, it was 83 degrees.  Today, our high may reach 30.  Mother Nature never fails to amaze me.  One year we may have a drought and the next year floods.  If you're a farmer, your lively hood depends on the weather.

On cold nights like tonight, I like to come home to a soup that has been in the cooking all day in the slow cooker.  Not only is it good, but it warms me up and makes the house smell good.

Growing up, I use to despise Vegetable Soup.  Those cooked carrots just grossed me out, but as an adult, I can pick and chose what I want in my soup.

Here's my Slow Cooker Vegetable Soup:


Ingredients:
12 oz bag of frozen sweet corn
12 oz bag of frozen green beans
12 oz bag of frozen peas
1 small can of tomato sauce
2-3 potatoes, peeled and cubed
Chuck roast meat, precooked and cut into pieces
2 T beef bouillon granules
Water

Directions:
In your slow cooker add the first six ingredients and stir.  Next add the two Tablespoons of beef bouillon granules and enough water to cover the vegetables.  If you want more of a tomato base, add a second can of the tomato sauce and less water (which is usually what I do).  Cook on low for 5-6 hours.

You can also add other vegetables like carrots, tomatoes, celery, onions, etc.  The possibilities are endless.


Ingredients for Vegetable Soup.

Wednesday, March 20, 2013

DIY Foaming Hand Soap

There is nothing more I enjoy than foaming hand soap in the bathroom and the kitchen.  The problem is that I go through really fast.  Since we live on a farm, we wash our hands many times a day.  Bath and Body Works foaming hand soaps are a favorite of mine, but I don't like to pay the prices.  Like many of you, I wait until they go on sale and then stock up.


One day while searching through Pinterest, I came across a way to make my own!  Here is a quick recipe that I'm sure you'll be able to follow!

Ingredients:
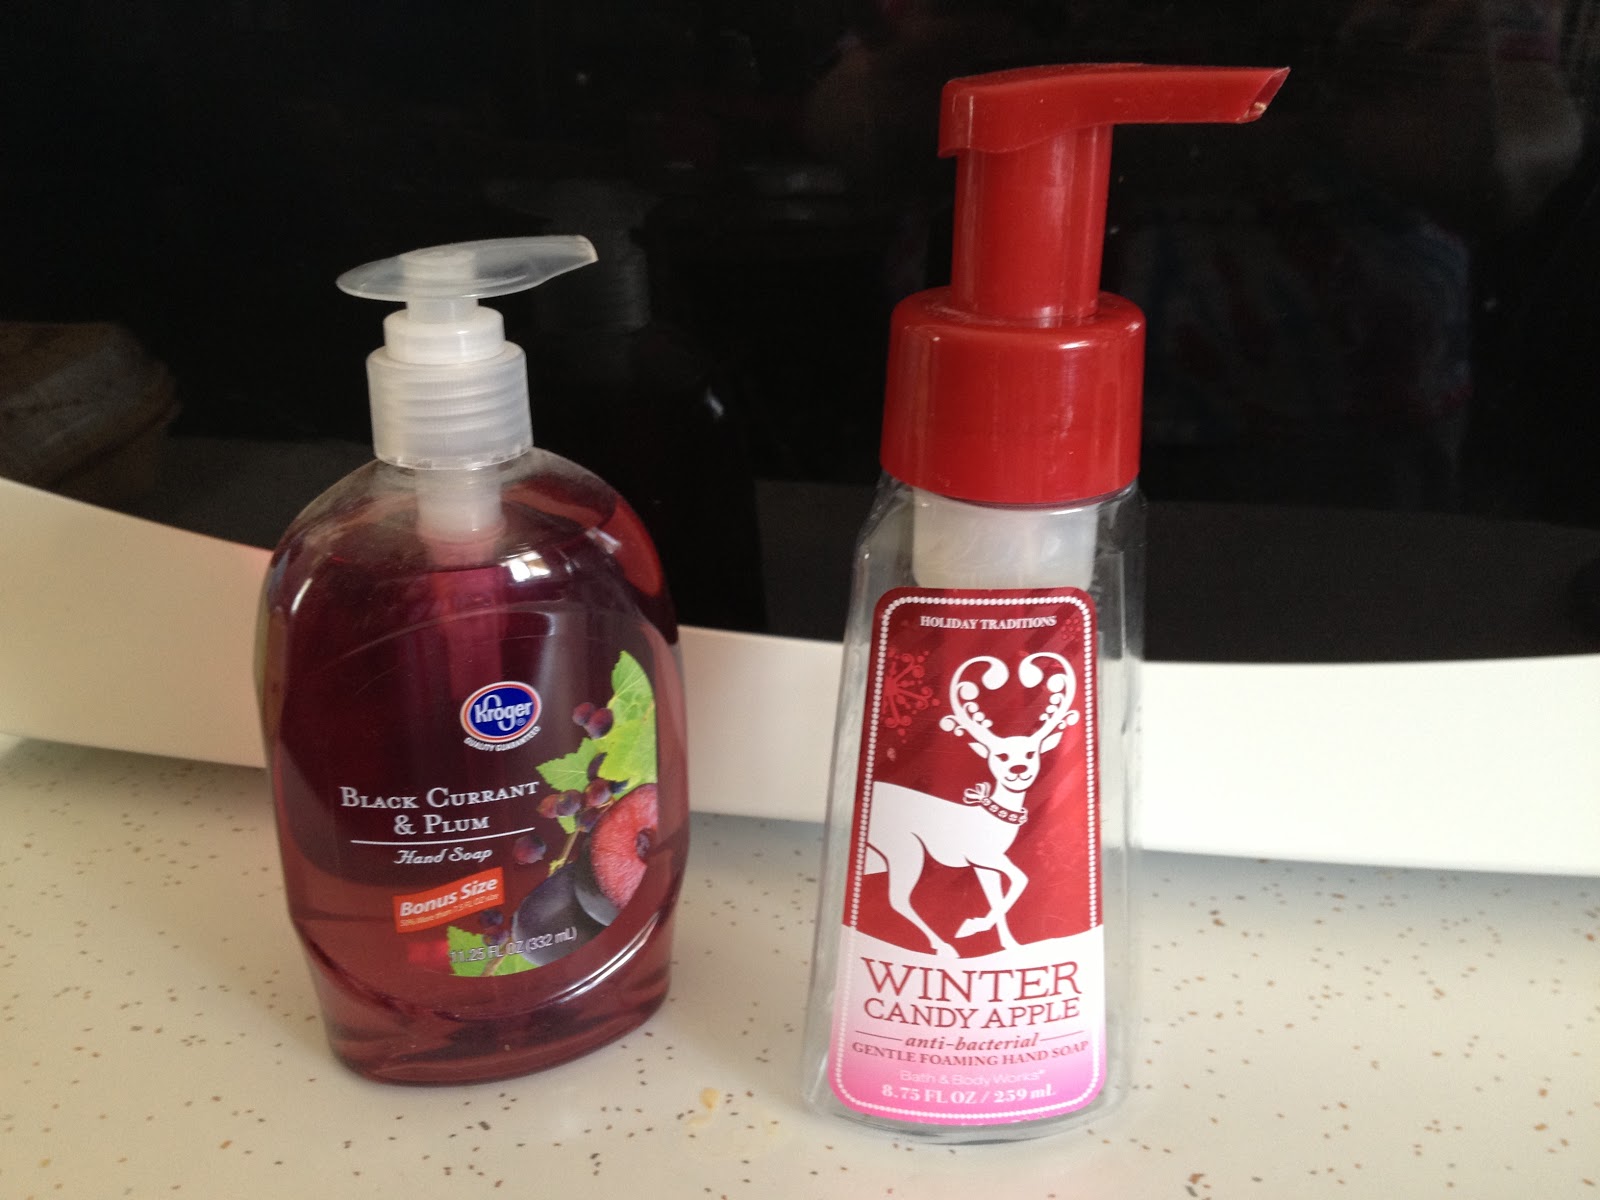
1 bottle of some sort of liquid hand soap
1 emptied and cleaned foaming hand soap bottle

Directions:
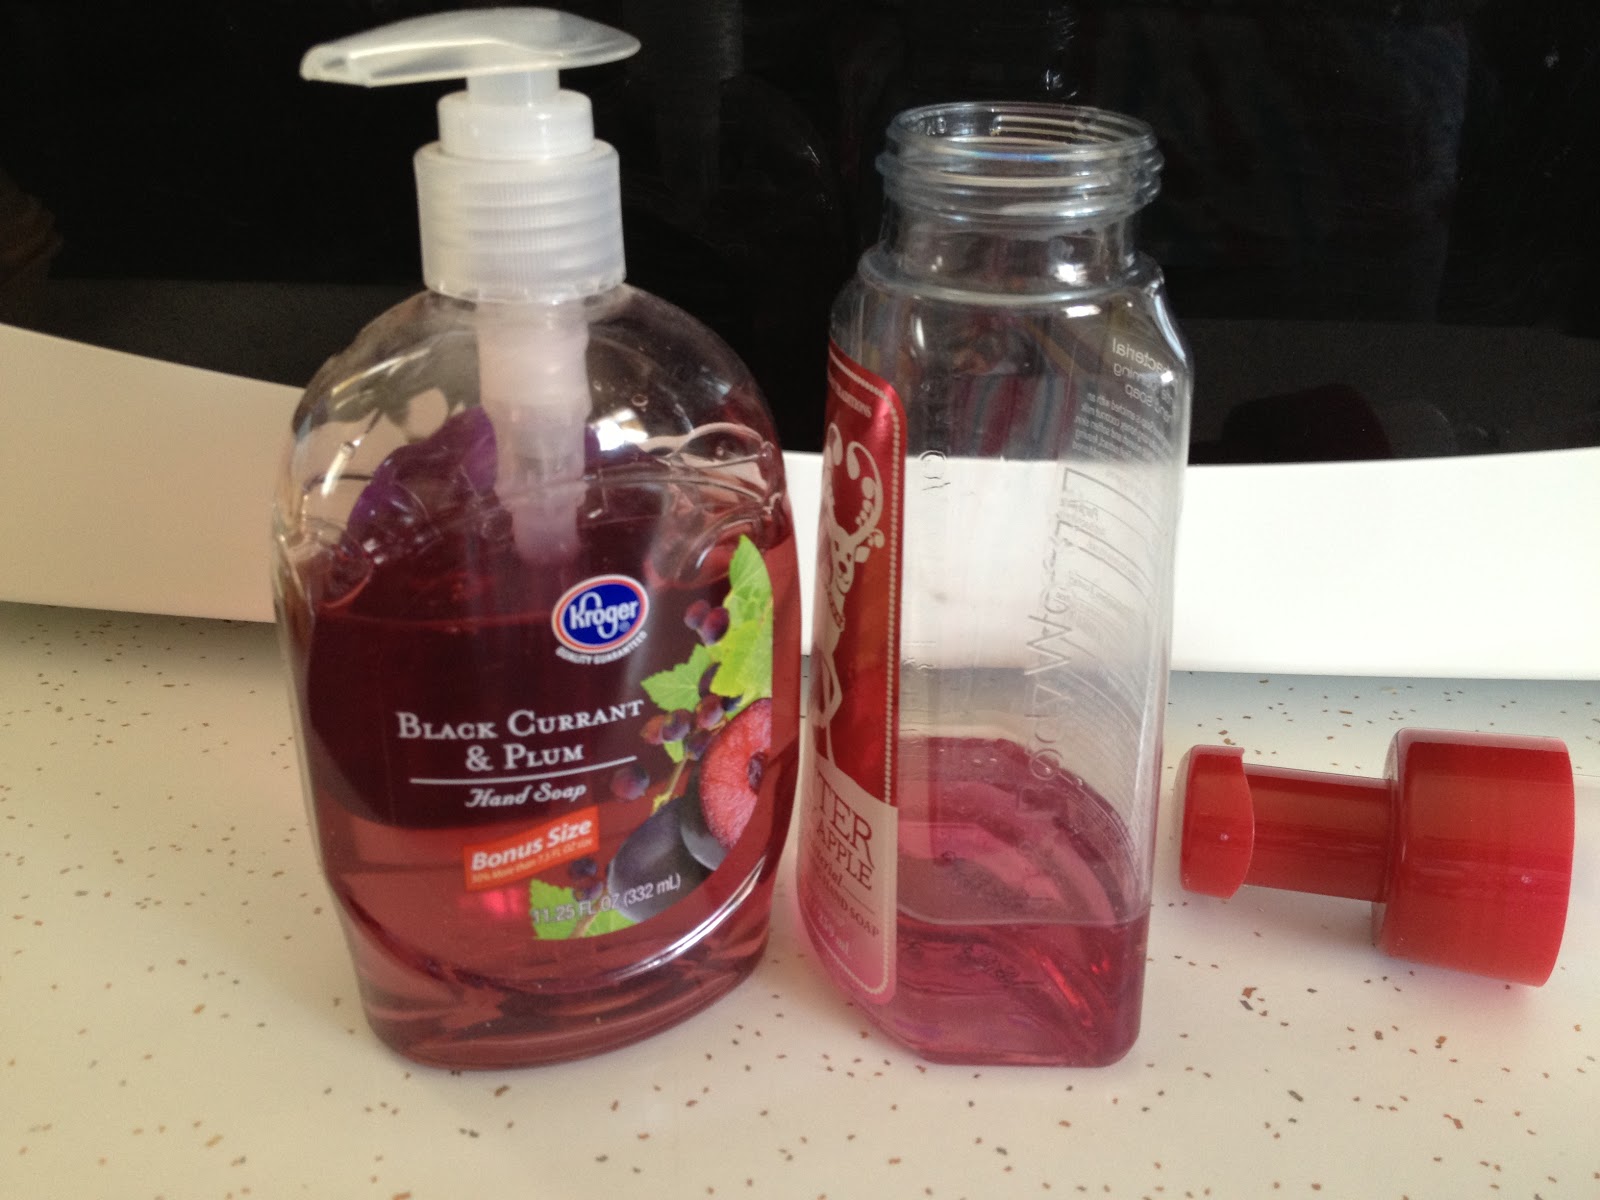
Take a marker and mark the dispenser 1" from the bottom of the bottle.  Next, pour in the liquid hand soap up to the 1"line.  Slowly (by this I mean trickle) fill the rest of the bottle with tap water leaving an inch of head space at the top.  Put the lid back on and gently tip the bottle upside down and side to side letting the soap mix with the water.  Prime your bottle and you're ready to go.

***Note - for my kitchen refill, I add 3 drops of Dawn dish soap.

 
As you can see, I used liquid hand soap from Kroger that was a 10 for $10.


Mark your dispenser 1" from the bottom of the bottle.


Pour the liquid hand soap into the bottle until you get to the 1" line.


Slowly, and by this I mean trickle, water into the container leaving 1" head space.


Put the lid back.


Gently tip the bottle upside down and side to side letting the soap mix with the water. 


And there you go!  Foaming hand soap!


Thursday, March 14, 2013

Marching On!

The last two weeks  have been extremely busy and I can tell that Spring is just around the corner.  Bill and I are back to working on the house and making some plans for much needed updates, but after this summer, I think we'll be done on the inside and can begin working on the landscape outside.

Last night, I started 48 plants indoors.  I can't wait to start the garden this year.  I have big plans for canning more than I did last year.  If you haven't already done so, start thinking about what you might like to have in your garden this year and come up with a layout of how you want it in your garden. 

Additionally, we will have several normal Spring projects including:  washing all the windows inside and out, giving the porch a thorough power washing, cleaning out the chicken coops and preparing for planting season.

Ah, planting season.  I actually enjoy harvest more than I do planting season, but it's all part of the package.  Harmony (9) and Tyler (7), our niece and nephew from Kentucky will be coming to stay with us over their Spring Break and Uncle Bill and Tyler have all kinds of farming plans to get ready for planting season.  They will be cleaning the planter, greasing it, and doing normal maintenance on it to make sure it's ready to go to the field.  Harmony and I are going to stick to more girl things like shopping and painting our nails.  I can hardly wait.

I am hoping to get back to cooking this weekend.  It's been mainly quick meals this week.  I miss being in the kitchen...hopefully I'll have a new recipe for you to see soon!