Thursday, March 20, 2014

The Perfect Chocolate Chip Cookie Recipe

Chocolate Chip Cookies


I've been on a cookie kick lately, making them, eating them, freezing them...they are good no matter what.  For years, I have been trying out different chocolate chip cookie recipes, but just had never come across the perfect one until now.  I guarantee you that these cookies are going to be a hit at your house.

The Perfect Chocolate Chip Cookie Recipe

Ingredients:
1 cup packed brown sugar
1 cup butter, softened
3/4 cup of sugar
2 eggs
1 1/2 teaspoon of vanilla extract
2 2/3 cups all-purpose flour
1 1/4 teaspoon baking soda
1 teaspoon salt
1 (12oz) package of semisweet chocolate chips

Directions:
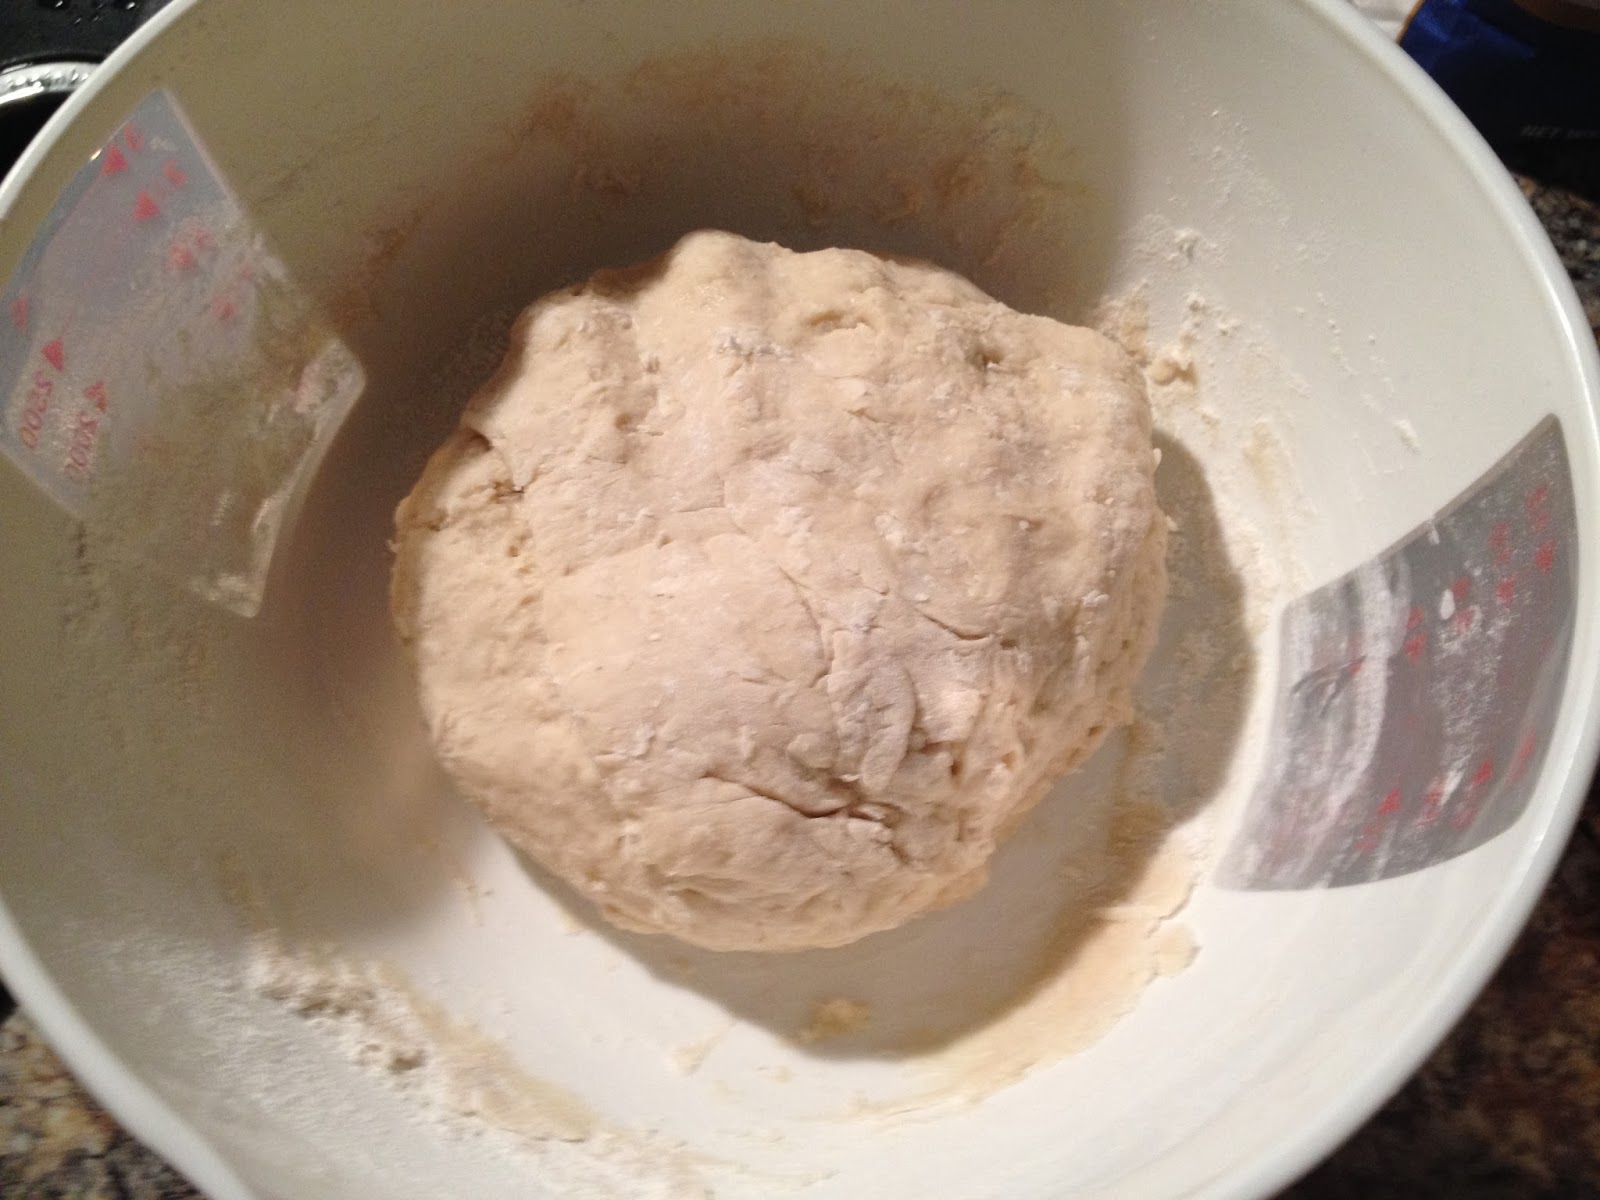
In a large bowl, cream the brown sugar, butter and sugar together until light and fluffy.  Beat in the eggs and vanilla.  Combine the flour, salt and baking soda and gradually add it to the creamed mixture and mix well.  Stir in the chocolate chips.

Shape the dough into balls and place about 2" apart on a greased cookie sheet.  Bake at 400 degrees for 10-12 minutes or until edges are golden brown.  Cool and store in an air tight container.

Note***We ate the first batch of these cookies, BUT I made a second batch and froze them in ice cube trays to make later.  I covered the ice cube trays with parchment paper and aluminum foil and store them in the freezer.  I have to admit that I've eaten several of these raw (I know, I know - I am not supposed to do that, but I did and they were delicious)!  Plus, it is an easy and fast way to make cookies when time is of the essence.

Wednesday, March 5, 2014

Texas Caviar

I admit it...I was a slacker the month of February.  We were enrolling youth in 4-H, there was snow (lots and lots) on the ground and the temperature seemed to always be freezing.  With all of that going on, the only things I really wanted to do (and did) was read and curl up on the couch with the cat and dog and watch movies.

Now March is here and I am ready to get back in the saddle again.  I've decided as of last night, that I am no longer going to drink pop.  My husband has me hooked on Diet Mt. Dew and I just don't need to consume that anymore.

Enough rambling...

Bill and I were recently introduced to this new type of "salsa" and I must say it is addictive.  If you are having friends over, or a Super Bowl party, this would be a wonderful dish to serve up.  Be prepared, because this make a BIG batch.  The picture is deceiving (I know it doesn't look appealing, but you will have to trust me on this one) as far as looks go, but the taste is exquisite.


Texas Caviar
 
 
Ingredients:
2 (15 oz) cans of shoe peg corn
1 (15 oz) can of black eyed peas
1 (6 oz) can of chopped green chiles
4 small tomatoes chopped (or just mix in some salsa you have on hand)
1 chopped green pepper (optional)
1 chopped large onion
2 T of minced garlic
1 bunch of green onion, chopped
1 medium sized bottle of Zesty Italian dressing
Tortilla Chips
 
 
Directions:
Mix all ingredients together in a large bowl.  Cover and refrigerate overnight.  Drain before serving.

Thursday, February 13, 2014

Pioneer Woman's Dark Chocolate Brownies


Pioneer Woman's Dark Chocolate Brownies
 
I admit it, I love most things sweet...especially brownies.  On one of our recent snow days (and there have been quite a few), I was looking up recipes to use some of my unsweetened chocolate that I had in the cupboard when low and behold I came across this recipe.  If you like chocolate, rich chocolate, then these brownies are for you.  When they first came out of the oven and were warm, I fixed a glass of milk and ate 2 of them!  They are delicious.  Of course it's a recipe from the Pioneer Woman so you know it has to be good.  Beware: these will go fast!
 
 
(this link has her step by step instructions with pictures)!

Ingredients:

  • 1 cup Butter
  • 5 ounces, weight Unsweetened Chocolate
  • 1/4 cup Unsweetened Cocoa Powder
  • 2 cups Sugar
  • 1 Tablespoon Vanilla
  • 3 whole Large Eggs
  • 1-1/4 cup Flour
  • 3/4 cups Semi-Sweet Chocolate Chips
  • Powdered Sugar, For Sifting
Directions:

Preheat oven to 350 degrees.
In a medium-large saucepan, melt the butter with the unsweetened chocolate over low heat, whisking occasionally until smooth and melted. Sprinkle in cocoa powder and whisk to combine. Remove the pan from heat and allow to cool for about 5 minutes.

Stir in sugar and vanilla until just combined.  One at a time, stir in the eggs.  Gently stir in the flour until halfway incorporated. Add the chocolate chips and stir just until combined.

Pour batter (it will be very thick!) into a greased 8 x 8 or 9 x 13 baking pan. (Square pan will result in thicker brownies.) Spread to even out the top and place in the oven.

Bake for 40 minutes, then check the brownies with a toothpick. If it is overly gooey/messy, return to the oven for 5 to 10 more minutes. (Just be careful not to burn the edges.)

I didn't allow my brownies to cool all the way, but Ree suggests that you: Allow to cool completely (important!), then sprinkle with powdered sugar and cut into small squares. The brownies are very rich!


Thursday, January 30, 2014

Irresistible Potato Soup

 
Irresistible Potato Soup

 
A perk of having friends with the same interests as you, is that you can share things like recipes.  My friend Misty gave me this recipe and we have made it several times on these cold, Indiana winter days. 
 
 
Ingredients:
1/3 lb bacon, chopped (not cooked)
6 medium potatoes, diced to the size you like them (Bill like his potato soup a little chunky, so I don't dice mine as fine)
4 cups of chicken broth
2 cups of milk
1/4 cup of all-purpose flour
1/4 cup of butter
1 medium sized onion, diced
1 clove of garlic, diced (optional)
1 cup of sour cream
1/4 teaspoon of white pepper (regular pepper works too)
potato flakes (if needed for added thickening)
salt (to taste)
 
Toppings:
freshly chopped parsley
sliced green onions
grated cheddar cheese
crumbled bacon pieces
 
 
Directions:
Add bacon to a large soup pot and cook until it has rendered it's fat.  Remove and set aside.  Then add onions and garlic to bacon fat.  Cook until onions begin to be translucent and then add butter.  Let the butter melt and then whisk in flour.  Cook for 3 minutes.  Add chicken broth and bring to a boil while scrapping the bottom of the pan.  Add milk, potatoes and white pepper.  Bring back to a boil and make sure to stir constantly to avoid lumps.
 
Cook over medium heat until potatoes are very tender, stirring from the bottom every few minutes (this can be a slow process, but the outcome is worth it).  After potatoes are done, if your soup is too thick, add more broth or milk to it.  If it is too thin, add some potato flakes a few teaspoons at a time, until you get to the desired consistency that you like.  Wait about 2 minutes in between adding potatoes flakes to see what the consistency will be like before you add more flakes.  Don't forget to add salt if it tastes a little bland!
 
When soup is done, remove from hear and stir in sour cream.  Serve soup with your favorite topping(s).

Tuesday, January 21, 2014

Doritos Taco Salad


Doritos Taco Salad


Any time that you can eat lettuce, you know that leafy green stuff, you are doing good.  Growing up, my Dad always had a salad and ice tea with whatever we were eating.  I admit that I don't eat it as often as he does, but I like mixing it up every once in awhile like in this Doritos Taco Salad.

This is a great salad to throw together when you are in a hurry, or on nights that time is limited.  You can actually prepare everything the day ahead.  How easy is that?  It is also an idea dish to take to potlucks, reunions and church pitch-ins.

Doritos Taco Salad

Ingredients:
1 bag of Nacho Cheese Doritos (crushed)
1 bottle of Catalina Salad Dressing
2 pounds of ground beef, seasoned with  2 packets of taco seasoning
1 onion
2 medium size tomatoes
2 cups of shredded cheddar cheese
2 small bags of shredded lettuce OR 1 head of lettuce cut up
1 can of black olives (optional)


Directions:
Brown your ground beef and season it with the taco seasoning packets.  Drain and the beef and let it cool.  Open your bag of Doritos and squish the bag, to crush the chips.  In a LARGE bowl, add the onion, tomatoes, olives, cheese and lettuce and toss well.  Next add the chips and cooled ground beef.  Toss again.  Add the bottle of Catalina Salad Dressing (depending on your taste, you may like a little more dressing or a little less).  Toss again and serve.

Tuesday, December 31, 2013

Christmas Trash Candy Recipe


I think that the combination of cereal, M&M's and pretzels make a delicious combination.  Not to mention, it can be addictive to eat.

If you are looking for a quick candy recipe to throw together for a holiday, this should be one of your go to recipes.  You can easily substitute the holiday M&M's to go with another holiday (i.e. Valentine's Day, St. Patrick's Day, etc.)  Although, I am not sure how it became known as Christmas Trash, I promise it is wonderful!

Christmas Trash Candy Recipe:

Ingredients:
24 oz. Almond Bark (vanilla flavored candy coating)
6 cups Kellogg's Crispix cereal
3 cups pretzels (I prefer to break mine into smaller pieces)
3 cups of dry roasted peanuts
16 oz. M&M'S Plain Chocolate Candy


Directions:
In a medium microwave safe bowl, melt chocolate in the microwave for 2-4 minutes at 30 SECOND intervals until chocolate is melted; set aside.

In a bowl, add cereal, pretzels, peanuts and M&Ms. Pour melted chocolate over the cereal mixture using a large spatula to fold all together making sure not to break up the cereal to much.

Once all the mixture is coated real well with the chocolate, pour out onto a pan or table lined with waxed paper.

Once cooled, break up into piece and store in an air tight container..


Friday, December 20, 2013

Homemade Sweet Rolls


Homemade Sweet Rolls


Growing up, my mom would make these delicious and mouth watering yeast rolls that had just a hint of sweetness to them. They were addictive. Apparently, this recipe goes back to my Great-Grandmother Ruby Huddleston and I am pleased to share it with all of you.

Homemade Sweet Rolls

****Read the directions BEFORE you start the recipe****

Ingredients:
1 cup of very hot water
2 packages of active dry yeast
1/2 cup of sugar
1 egg
1/4 t salt ( I usually just do a little pinch)
3 to 5 cups of all purpose flour

Directions:
Dissolve yeast in hot water using a wire whisk. When the yeast looks dissolved add the egg, sugar and salt and continue to mix. Next add the flour --- one cup at a time mixing with a wooden spoon. Add just enough of the flour so that the dough is left a little sticky to the touch. Now, knead the dough with your hands for about 5 minutes. When your done kneading the dough, pinch off the dough into the portions of a muffin pan. Let rise for 1 hour in a warm place in the kitchen with a towel laying over the top, then bake at 375 degrees until they are golden brown on top. Eat with butter.
 

Start off with 2 packages of active dry yeast and
a medium sized bowl.


Dissolve the yeast in one cup of very hot water.
Stir with a wire whisk until the yeast has dissolved.


Then add the egg...


and the sugar and salt (not pictured) and stir until well
blended.

 
Use all-purpose flour.


Next, add the flour, one cup at a time mixing with a
wooden spoon.  I know I had my whisk in this picture,
but trust me, you'll want to use the wooden spoon.


Keep adding the flour, a cup at a time, until the
dough feels slightly sticky to the touch.
At this point, knead the dough with your hands
for about 5 minutes.

 
Pinch the dough off and put it in muffin pans.
Although this is a 6 muffin pan, you should
really do a 12 muffin pan.
I like to pinch the dough at put 3 little doughs
in 1 of the muffin cups together.  Once the muffin pan
is full, place a towel over the top and let the rolls
rise in a warm spot for 1 hour.


After the hour is up, bake the rolls at 375 degrees
until they are nice and golden on top.
I usually take out of the oven and baste the tops
with butter.

 
Serve rolls warm with any of the following:  butter, flavored butter, honey or jam.  Makes a delicious addition to any meal and I promise that they won't last long.