Tuesday, March 26, 2013

Slow Cooker Vegetable Soup

In 2012 last year, it was 83 degrees.  Today, our high may reach 30.  Mother Nature never fails to amaze me.  One year we may have a drought and the next year floods.  If you're a farmer, your lively hood depends on the weather.

On cold nights like tonight, I like to come home to a soup that has been in the cooking all day in the slow cooker.  Not only is it good, but it warms me up and makes the house smell good.

Growing up, I use to despise Vegetable Soup.  Those cooked carrots just grossed me out, but as an adult, I can pick and chose what I want in my soup.

Here's my Slow Cooker Vegetable Soup:


Ingredients:
12 oz bag of frozen sweet corn
12 oz bag of frozen green beans
12 oz bag of frozen peas
1 small can of tomato sauce
2-3 potatoes, peeled and cubed
Chuck roast meat, precooked and cut into pieces
2 T beef bouillon granules
Water

Directions:
In your slow cooker add the first six ingredients and stir.  Next add the two Tablespoons of beef bouillon granules and enough water to cover the vegetables.  If you want more of a tomato base, add a second can of the tomato sauce and less water (which is usually what I do).  Cook on low for 5-6 hours.

You can also add other vegetables like carrots, tomatoes, celery, onions, etc.  The possibilities are endless.


Ingredients for Vegetable Soup.

Wednesday, March 20, 2013

DIY Foaming Hand Soap

There is nothing more I enjoy than foaming hand soap in the bathroom and the kitchen.  The problem is that I go through really fast.  Since we live on a farm, we wash our hands many times a day.  Bath and Body Works foaming hand soaps are a favorite of mine, but I don't like to pay the prices.  Like many of you, I wait until they go on sale and then stock up.


One day while searching through Pinterest, I came across a way to make my own!  Here is a quick recipe that I'm sure you'll be able to follow!

Ingredients:
1 bottle of some sort of liquid hand soap
1 emptied and cleaned foaming hand soap bottle

Directions:
Take a marker and mark the dispenser 1" from the bottom of the bottle.  Next, pour in the liquid hand soap up to the 1"line.  Slowly (by this I mean trickle) fill the rest of the bottle with tap water leaving an inch of head space at the top.  Put the lid back on and gently tip the bottle upside down and side to side letting the soap mix with the water.  Prime your bottle and you're ready to go.

***Note - for my kitchen refill, I add 3 drops of Dawn dish soap.

 
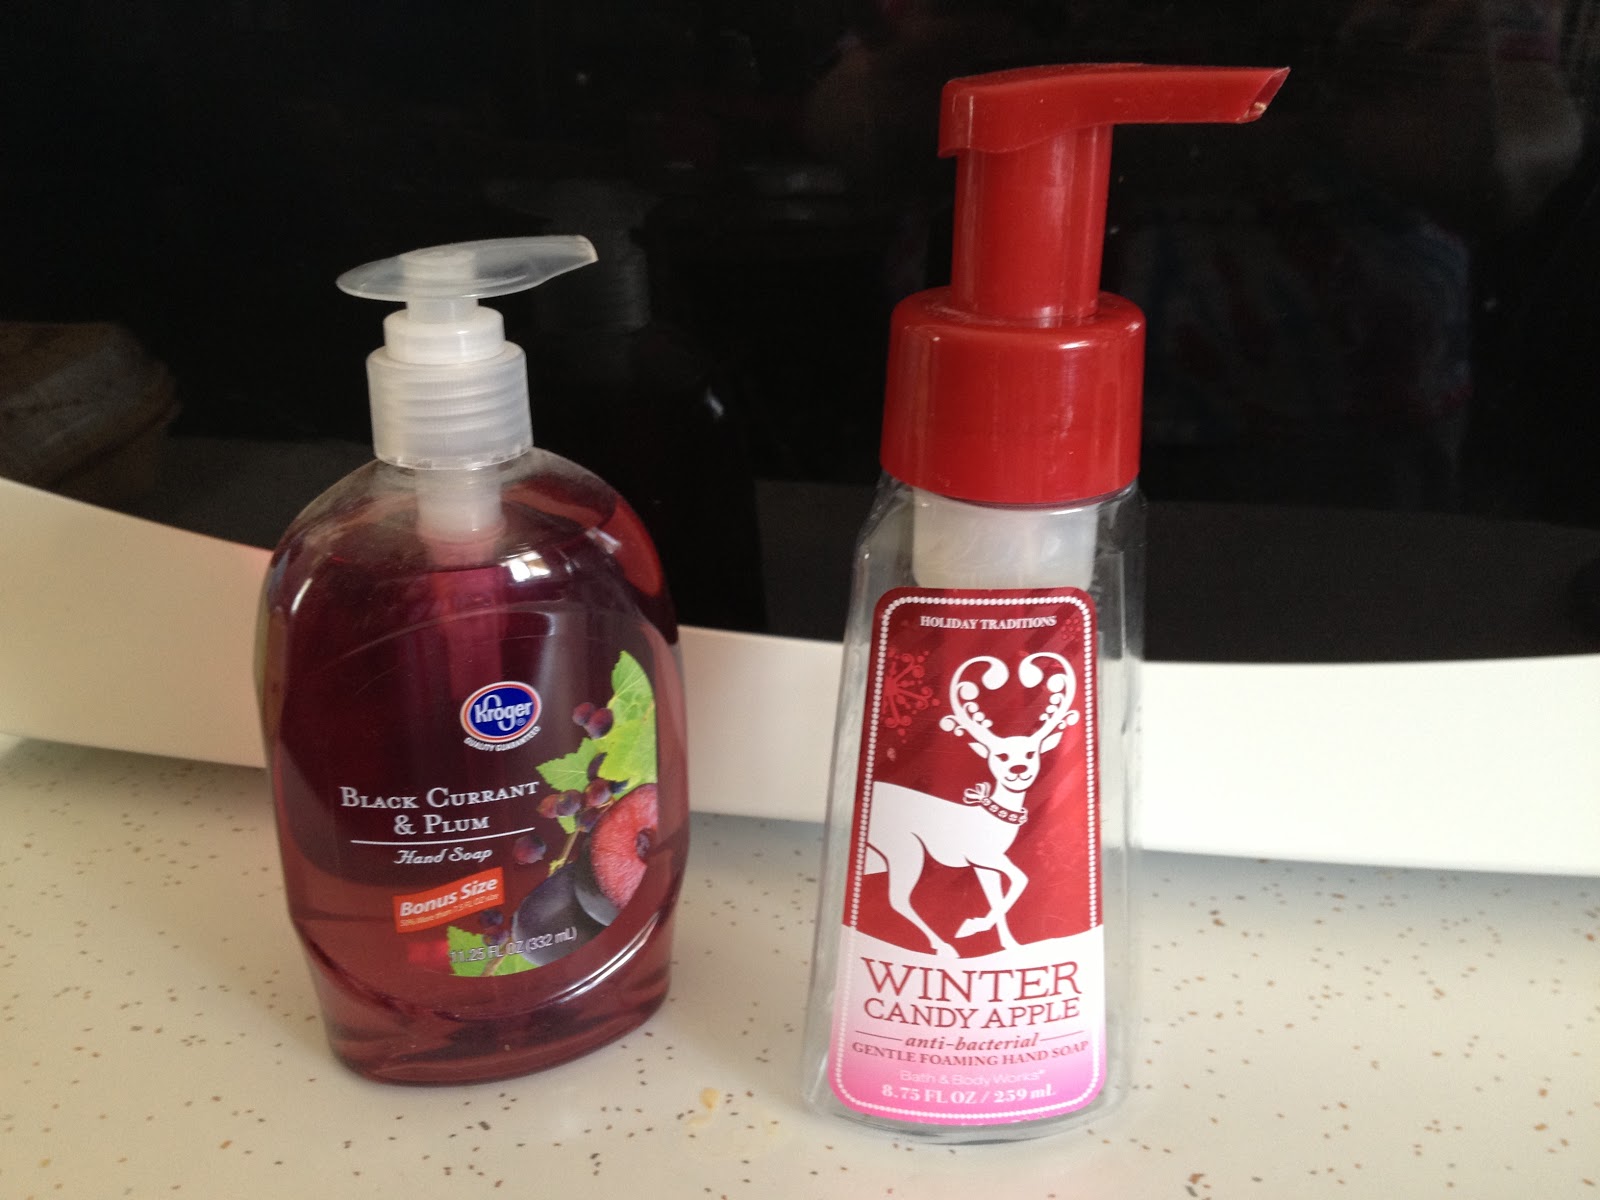
As you can see, I used liquid hand soap from Kroger that was a 10 for $10.


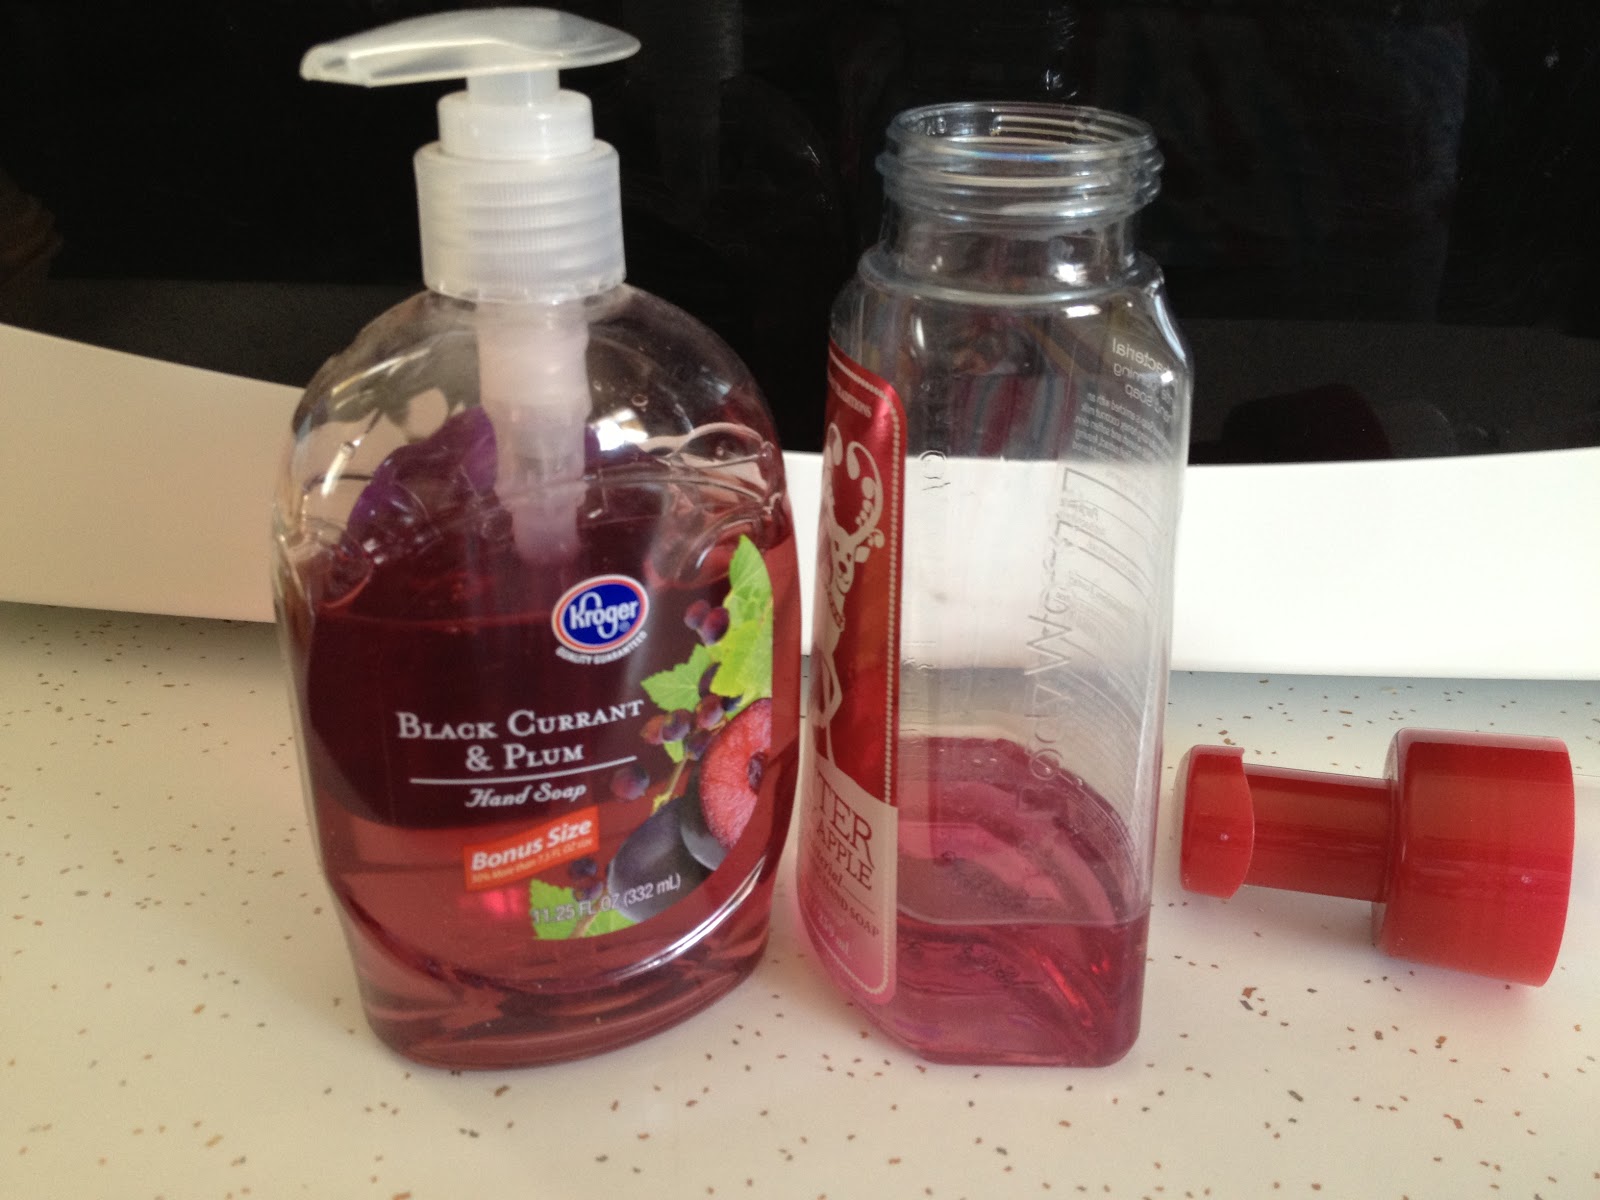
Mark your dispenser 1" from the bottom of the bottle.


Pour the liquid hand soap into the bottle until you get to the 1" line.


Slowly, and by this I mean trickle, water into the container leaving 1" head space.


Put the lid back.


Gently tip the bottle upside down and side to side letting the soap mix with the water. 


And there you go!  Foaming hand soap!


Thursday, March 14, 2013

Marching On!

The last two weeks  have been extremely busy and I can tell that Spring is just around the corner.  Bill and I are back to working on the house and making some plans for much needed updates, but after this summer, I think we'll be done on the inside and can begin working on the landscape outside.

Last night, I started 48 plants indoors.  I can't wait to start the garden this year.  I have big plans for canning more than I did last year.  If you haven't already done so, start thinking about what you might like to have in your garden this year and come up with a layout of how you want it in your garden. 

Additionally, we will have several normal Spring projects including:  washing all the windows inside and out, giving the porch a thorough power washing, cleaning out the chicken coops and preparing for planting season.

Ah, planting season.  I actually enjoy harvest more than I do planting season, but it's all part of the package.  Harmony (9) and Tyler (7), our niece and nephew from Kentucky will be coming to stay with us over their Spring Break and Uncle Bill and Tyler have all kinds of farming plans to get ready for planting season.  They will be cleaning the planter, greasing it, and doing normal maintenance on it to make sure it's ready to go to the field.  Harmony and I are going to stick to more girl things like shopping and painting our nails.  I can hardly wait.

I am hoping to get back to cooking this weekend.  It's been mainly quick meals this week.  I miss being in the kitchen...hopefully I'll have a new recipe for you to see soon!

Friday, March 8, 2013

Reduced Sugar Strawberry Jam via the Jam and Jelly Maker

Folks, I am totally enjoying my new FreshTech Jam and Jelly Maker.  I purchased it off of Amazon.com and could not be more pleased!

These Jam and Jelly Makers retail for $99, but you can find them on sale for $89 and I feel as if you will think it is worth the price (not to mention the time) to buy one...especially if you love homemade jam and jelly!


The Jam and Jelly Maker was easy to assemble and I used it for the first time the other night.  It comes with a small recipe book or you can visit their website at www.freshTechJamMaker.com for more recipes.

I purchased some strawberries and decided to make strawberry jam.  It was so simple!!!

Reduced Sugar Strawberry Jam

Ingredients:
3 1/4 cups crushed strawberries
3 T Ball Real Fruit Classic Pectin, Low Sugar
1/2 t margarine
2 C granulated sugar

Directions:
First, I washed the strawberries and let them air dry.  Then I removed the stems and hulls.  Next, I crushed the berries in a bowl using a potato masher until I had 3 and 1/4 cups.

Next, I sprinkled the pectin evenly over the bottom of the Jam and Jelly Maker, add the crushed strawberries evenly over the pectin and the butter.  The butter will melt, so don't worry about melting it prior to adding it.  Press the "Jam" button on the machine and it starts stirring the ingredients.  In 4 minutes, the machine beeps at you and you add the sugar.  The machine continues to stir and cook the ingredients and you do nothing else until it is done.  You heard correctly!  You don't have to stand over the stove and continually stir, this machine does it all for you!  When it is done, it will beep again and you can ladle the jam into freezer containers or canning jars.  That is it!  So simple!

Here is a picture of the machine cooking and stirring the strawberries!  It was amazing!


Here is the end product.  It was delicious!  You could even eat this as an ice cream topping:)

Tuesday, March 5, 2013

Heath Cake

Last night I was craving chocloate.  Flipping through my cookbooks, I couldn't decide on what I wanted to make and then it hit me - Heath Cake!  If you like a moist cake that's a little gooey on the inside, this is the cake for you.


Heath Cake

 
Ingredients:
1 box of German Chocolate Devil's Food Cake Mix
1 8-oz tub of Cool Whip
1 can sweetened condensed milk
1 jar of caramel ice cream topping
1 pkg Heath bar pieces

Directions:
Prepare and cook the cake according to the instructions on the box (for the 9x13 size) and let it cool completely.  In a medium sized bowl, combine the caramel and sweetened condensed milk and mix well.  Once the cake has cooled, use the end of a wooden spoon to punch holes in the cake every couple of inches.  Pour the caramel and sweetened condensed milk mixture over the top of the cake so that it fills all of the holes.  Next, spread the Cool Whip over the top of the cake and then sprinkle the Heath bar  pieces over the top.  Be sure to store the cake in the refrigerator.

Prepare and cook the cake according to the instructions on the box (for the 9x13 size) and let it cool completely.


In a medium sized bowl, combine the caramel and sweetened condensed milk and mix well. 


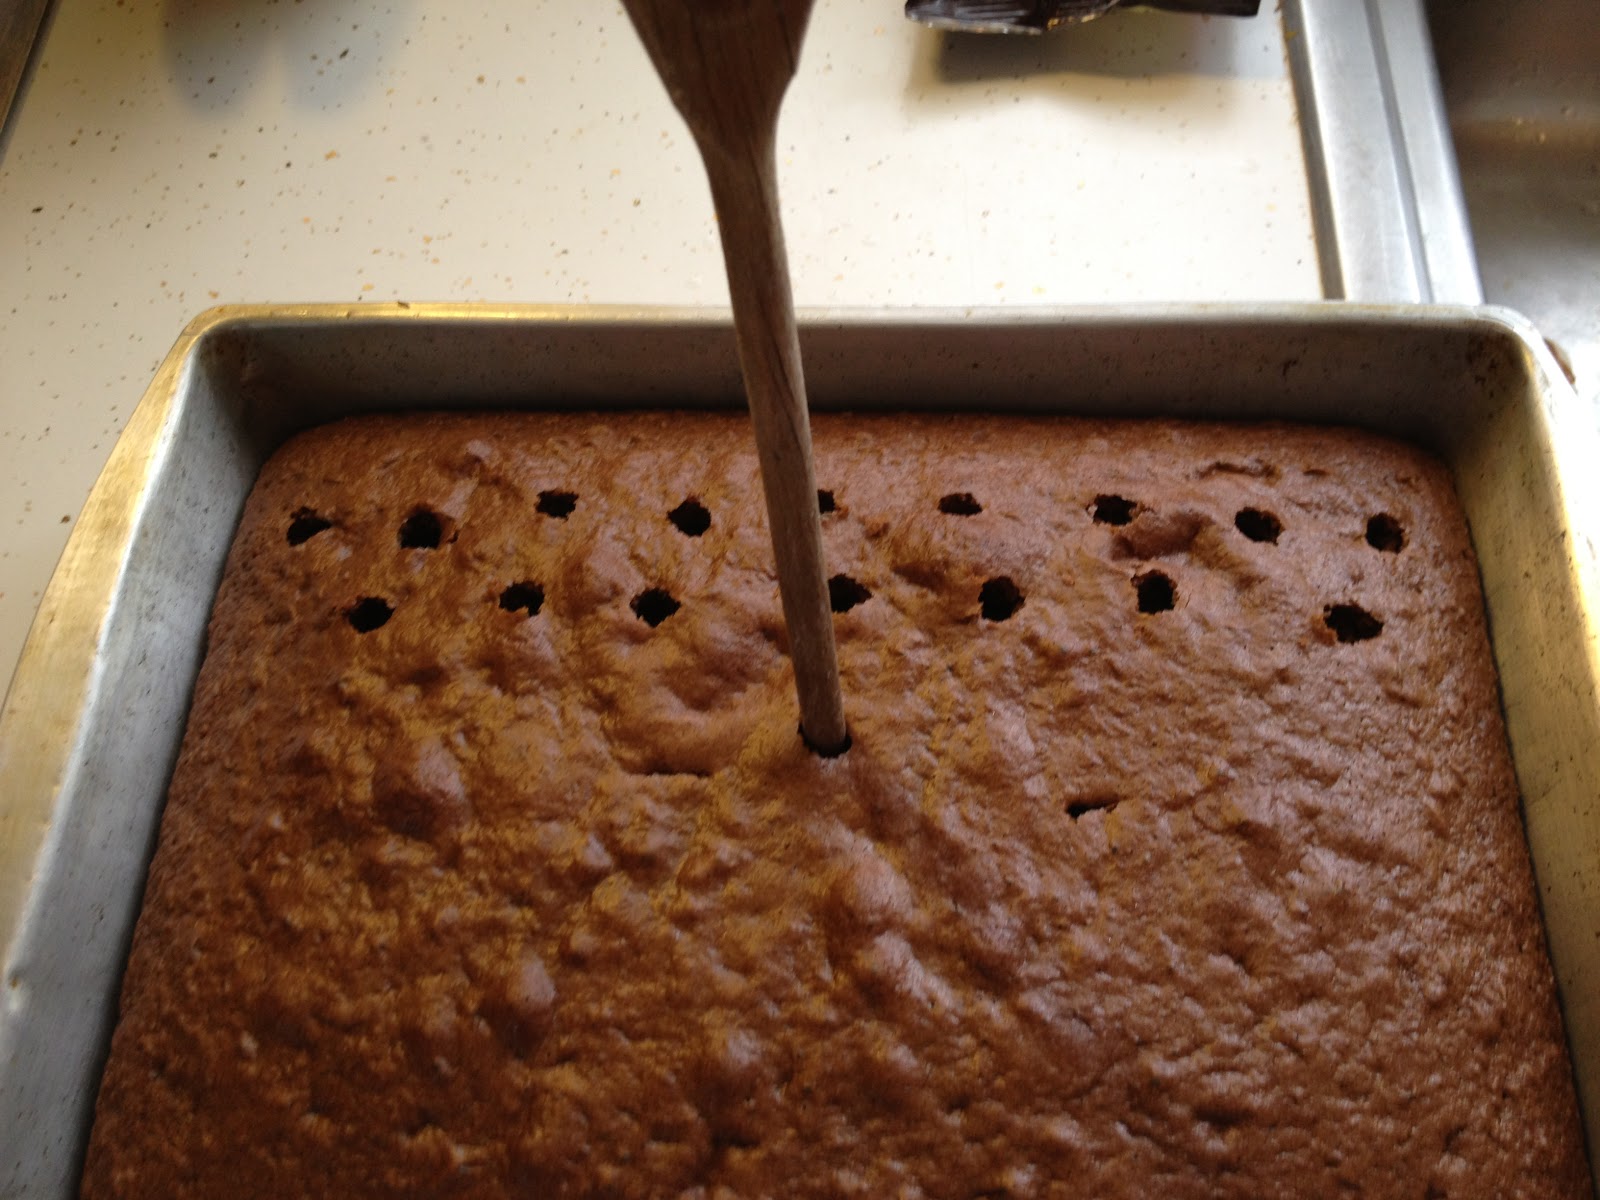
Once the cake has cooled, use the end of a wooden spoon to punch holes in the cake every couple of inches.

  Pour the caramel and sweetened condensed milk mixture over the top of the cake so that it fills all of the holes.
 
Next, spread the Cool Whip over the top of the cake.
 
 
 Sprinkle the Heath bar pieces over the top. Be sure to store the cake in the refrigerator.

Thursday, February 28, 2013

New Canning Toy

I know, I know.  I've not been on here hardly at all this week.  Do you ever have a week where you just can't seem to get anything accomplished?  That would be me this week.  Between filing our taxes and nightly meetings, there has been no time for much else.  Meals have consisted of things that I've had in the freezer - what a life saver!

I did however, get a new toy this week.. 

  
It is the Ball FreshTech Jam & Jelly Maker.  Supposedly it takes the standing at the stove and stirring constantly for so many minutes out of play because it does it for you.  I've already got plans for this new toy this weekend.  I can hardly wait.

One thing I like about this product is the recipe book that it comes with.  It starts off telling you the difference between jam and jelly, so you can decide which one you'd rather make.  For example, jam is made with crushed fruit plus sugar and pectin and have a spreadable gel, but jelly is made with fruit juice, sugar and pectin and are usually firmer than jams.

There are several recipes included with the book and the manual for assembly is very easy to follow. 

Look for some future blogs about this machine and recipes!

Thursday, February 21, 2013

Sweet Pepper Sausage Bake

Smoked sausage is delicious.  Add some peppers, onions and potatoes in the mix, and now you have a complete meal.

After making the beef fajitas the other night, I had left over peppers and onions.  I decided to try a new...experimental dish and it turned out fantastic!


Here are the main ingredients that you will need.  I actually doubled everything, except the potatoes and put a batch in the freezer.

Sweet Pepper Sausage Bake

Ingredients:
4 medium potatoes, peeled and cubed
1 medium sized onion
1 bag of sweet peppers, cleaned and sliced
1 package of skinless smoked sausage
Olive Oil
Salt and pepper


Directions:
Peel, wash and cube the potatoes.  Wash of the peppers and slice them lengthwise as thick or thin as you want them.  Do the same with the onions.  Slice the sausage into bite size pieces.  Put all ingredients in a large bowl and coat with 2 tablespoons of olive oil.  Mix well.  Line a 9x13 pan with aluminum foil and add 1 tablespoon of olive oil to the aluminum foil.  Pour the ingredients of the bowl on the sheet of aluminum foil, making sure everything is evenly coated in the olive oil.  Sprinkle salt and pepper over the top and cover with another layer of aluminum foil sealing the top and bottom pieces together.  Bake at 350 degrees for 25 minutes.  Serve.


Sweet peppers
 
 
Onions
 
 
Potatoes
 
 
Sausage
 
 
Mix in a bowl and transfer to the pan.
My hubby decided he needed some black olives and mushrooms in it too.
So we added those at the last second.
 
Aluminum foil lined pan.
 
I don't know why I usually seem to forget to take a picture of the finished product.  Could be because I am so excited about trying it out...I assure you though, this is a keeper.